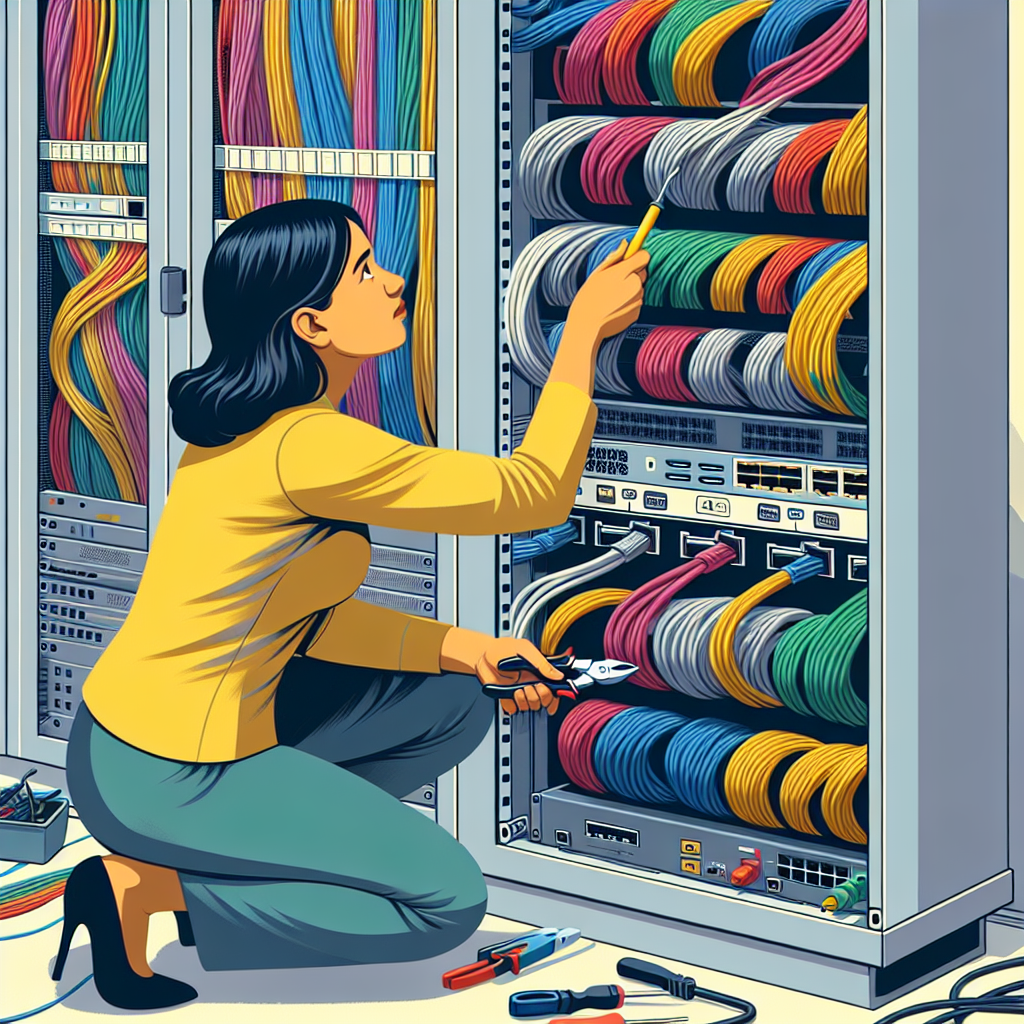
Efficient cable management is crucial for the performance and maintenance of any network or AV system. Wall mount racks, commonly used in IT and AV setups, require meticulous cable management to ensure that cables are secure, accessible, and organized. In this article, we will explore the best practices, tools, and techniques for managing cable entry in a wall mount rack.
Types of Cable Management Systems
Before diving into the specifics of cable management within a wall mount rack, it’s important to understand the different types of cable management systems available. These include:
- Cable Trays: Horizontal and vertical cable trays that help route and organize cables along predefined paths.
- Cable Ladders: Feature rungs for hanging cables, suitable for heavier cables and higher density setups.
- Rack Systems: Specialized racks that come with built-in cable management features, such as cable channels or rings.
- Underfloor Trays: Trays mounted under raised flooring to keep cables concealed and protected.
Important Factors to Consider
When managing cable entry in a wall mount rack, several factors must be considered to ensure optimal performance and easy maintenance:
1. Cable Length and Type
Determine the appropriate length and type of cables to avoid excess clutter and ensure they meet your performance needs.
2. Heat Management
Proper ventilation and separation of power and data cables are crucial to avoid overheating and interference.
3. Accessibility
Ensure that cables are easily accessible for maintenance and troubleshooting.
Tools and Accessories for Cable Management
Several tools and accessories can assist in organizing cables within a wall mount rack:
- Cable Ties: These help bundle and secure cables together, preventing tangling and clutter.
- Cable Management Panels: These panels have built-in hooks or loops to organize cables within the rack.
- Brush Strip Panels: These provide a clean entry point for cables while maintaining dust protection.
- D-Rings: Used to guide and support cables along specific paths within the rack.
- Velcro Straps: Provide a flexible and reusable option for bundling cables.
Step-by-Step Guide to Managing Cable Entry
Step 1: Plan Your Layout
Start by planning the layout of your wall mount rack. Identify where each device will be placed, and determine the best routes for cables. This will minimize the risk of interference and ensure an organized setup.
Step 2: Label Cables
Label each cable to easily identify its purpose and destination. This is essential for troubleshooting and maintenance.
Step 3: Install Cable Management Accessories
Install cable management accessories such as panels, D-rings, or cable trays within the rack. This will help guide and support the cables.
Step 4: Route Cables
Carefully route cables through the installed accessories, ensuring they are bundled and secured with cable ties or Velcro straps. Avoid over-tightening to prevent damage.
Step 5: Test Connectivity
Once all cables are routed and secured, test the connectivity to ensure everything is working correctly. Make any necessary adjustments.
Common Mistakes to Avoid
While managing cable entry in a wall mount rack, be mindful of these common mistakes:
- Overloading Cable Trays: Avoid stuffing too many cables into a single tray, as this can lead to damage and decreased performance.
- Improper Labeling: Always label cables accurately to prevent confusion during maintenance.
- Neglecting Heat Management: Ensure proper airflow by keeping power and data cables separated and not blocking ventilation paths.
- Ignoring Bend Radius: Respect the minimum bend radius of cables to prevent signal loss or damage.
Conclusion
Managing cable entry in a wall mount rack requires careful planning, the right tools, and adherence to best practices. By following the steps outlined in this article, you can ensure a well-organized, efficient, and easy-to-maintain setup. Proper cable management not only enhances performance but also prolongs the lifespan of your equipment.


